Building a useful photograph log for GNSS surveys
Link clear field photographs to points and setup events without confusing visual context with coordinate verification.
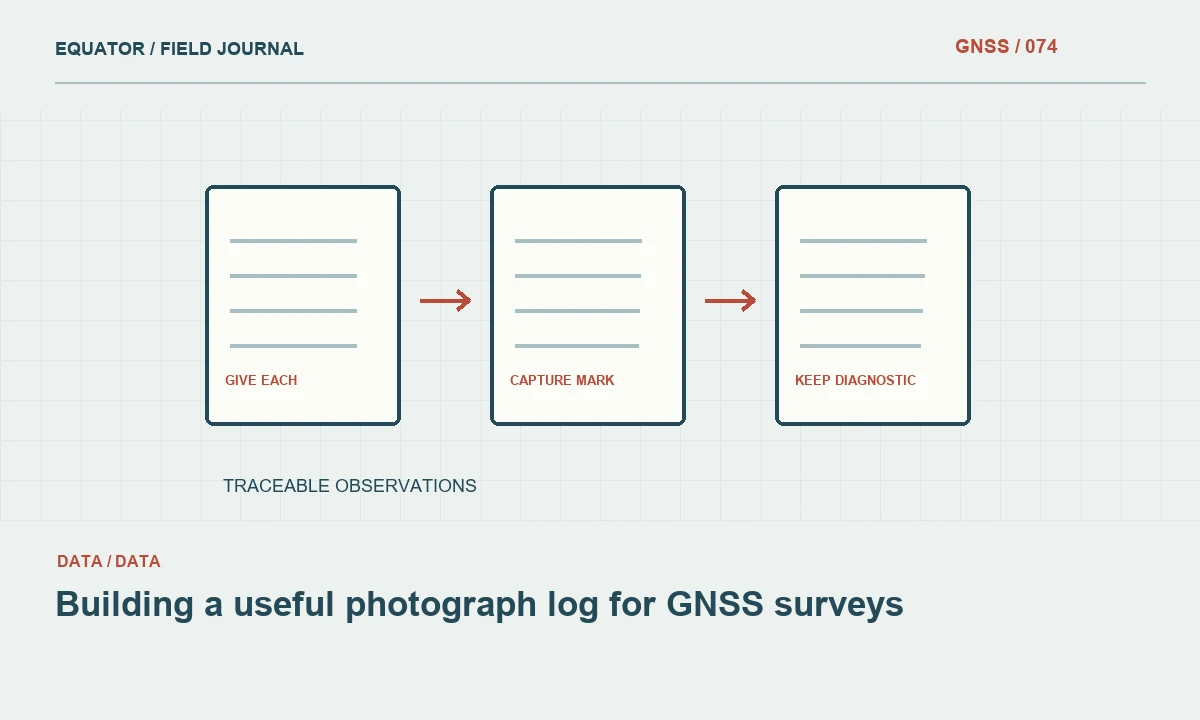
Give each photograph a purpose
Field photographs can document mark identity, antenna setup, feature interpretation and environmental conditions. They are most useful when the purpose is clear. A close image may show the exact centre of a mark, while a wider image helps another crew recover it. A controller screen may preserve a diagnostic state. Decide which views the project needs instead of collecting a large unstructured gallery that is difficult to connect to the survey.
A photograph supports interpretation but does not independently prove coordinate accuracy. A neat tripod setup can still use a wrong reference coordinate, and an image of a fixed status does not verify a point against control. Keep visual evidence connected to observation records and checks. This distinction makes photographs more useful because reviewers understand what each image can establish and what requires another source of evidence.
Continue learning AR stakeout: using a live view without losing coordinate discipline
Link images to stable identifiers
Use point, occupation or setup identifiers in the photo log. The camera filename can remain unchanged if a separate index provides the relationship. Include the project, date, subject and view description. If several points appear in one image, identify which one is the main subject and how the others are represented. Avoid relying on a loose sequence of image numbers that becomes ambiguous after files from several devices are merged.
For repeated visits, distinguish the occupation date and any changed condition. A photograph from an earlier campaign should not silently illustrate the current state of a disturbed mark. Preserve the original image and its context. If a copy is annotated for a report, keep it linked to the source so another reviewer can distinguish field evidence from later labels, arrows or explanatory graphics added in the office.
Continue learning Coordinating GNSS logs for drone PPK workflows
Capture mark recovery views
Take a close view that shows the defined centre and a wider view that shows its surroundings. Include recognizable stable features where practical. A very tight image of an anonymous bolt may be clear but difficult to recover, while a landscape view may locate the area without identifying the exact occupied point. The pair provides complementary information and reduces the chance of a future crew selecting a nearby similar mark.
Use a scale or label where the project needs it and where it can be included without obscuring the subject. Describe unusual contact geometry in the log. If the point is a corner, edge or offset feature, show enough context to make the intended definition clear. The photograph should support the written point description, especially where the physical feature offers several plausible places for a pole tip.
Continue learning Keeping useful time records in GNSS field surveys
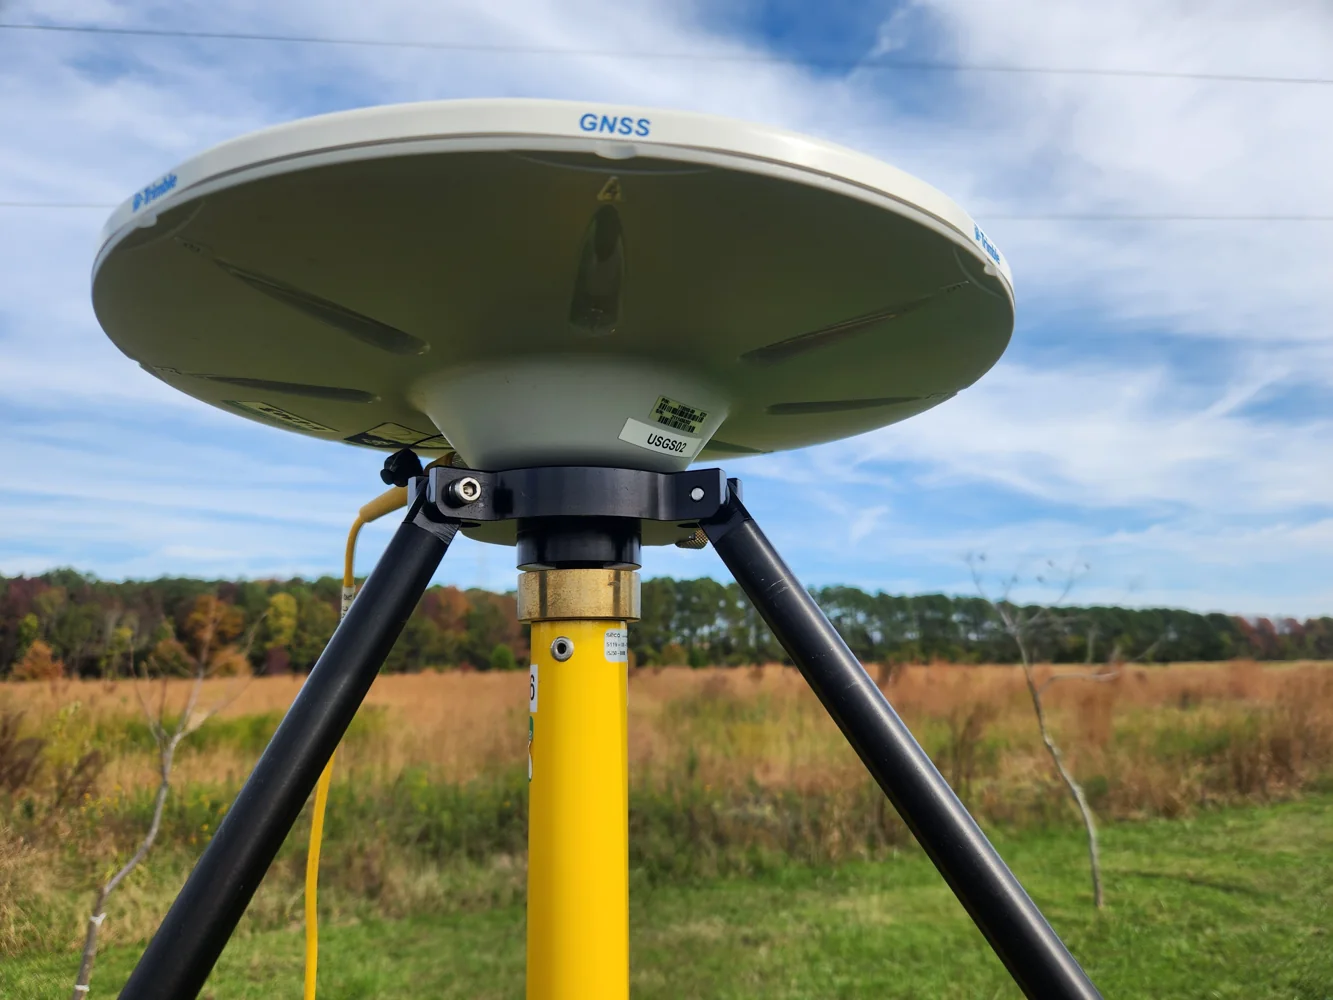
Document the antenna setup
Photograph the mounting arrangement, height measurement point and relevant adapters for important reference setups. A view showing only the receiver housing omits much of the geometry. Include a wider setup view that shows support and nearby obstructions. Keep the raw height measurement and method in the written record as well; an image may not show a tape reading clearly enough to serve as its only preserved source.
If the setup changes, capture the new arrangement with a separate setup identifier. This includes antenna replacements, changed extensions and a reset after suspected movement. Do not replace the earlier photographs in the archive with the latest configuration. Both belong to the history and may explain a coordinate difference. A clear before and after record is more useful than a single attractive image that hides the transition.
Continue learning Mapping water network assets with GNSS and reliable field records
Keep diagnostic images private and focused
Controller screenshots can preserve solution state, correction age and error text. Capture only what is needed and check that passwords, private account details or unrelated messages are not visible before sharing. Keep the time convention and device identity with the image. A screenshot without context may show a problem accurately while leaving the reviewer unable to determine which receiver or work session it describes.
Where possible, supplement the image with a short structured event note. State what happened, which observations may be affected and what action followed. The screenshot is a snapshot; the note provides sequence. For example, a correction warning followed by a successful reconnect and check should be represented as an event history rather than one isolated image that makes the status of the final measurements unclear.
Continue learning AR stakeout: using a live view without losing coordinate discipline
Handle time and location metadata carefully
Check the camera or phone clock before the session and record known offsets from the project time convention. Image metadata may use local time without an explicit zone, and file copy times may reflect transfer rather than capture. Preserve the original metadata and document interpretations separately. Do not assume that two files with similar displayed times describe the same event without checking the device conventions.
An embedded approximate location can help organize photographs, but it should not be treated as the surveyed coordinate of the subject. The camera may be beside the point, and its location method may differ from the survey workflow. Keep the link to the actual point observation as the authoritative relationship. If images will be shared publicly, follow the project policy for location and other metadata rather than exposing information unintentionally.
Continue learning Coordinating GNSS logs for drone PPK workflows
Review images while return visits remain possible
At the end of the day, inspect a sample for focus, readable labels and useful context. Confirm that important marks and setup events have the required views. Missing or blurred evidence is easier to replace while the crew is still nearby. Check the photo index against the point list so unlinked images and points with no intended documentation can be identified before the archive becomes large.
Do not delete ambiguous images immediately if they may document an event. Mark their interpretation as uncertain and retain the original according to the project policy. Conversely, do not assign a confident point link merely to complete the index. An honest unknown is preferable to a plausible but wrong association that later sends a crew to the wrong mark or supports an incorrect explanation of a survey discrepancy.
Continue learning Keeping useful time records in GNSS field surveys
Deliver a navigable photo record
Provide an index with image name, linked identifier, capture time convention, view type and concise description. Keep originals and report copies distinguishable. Test that the links work from the handover location rather than only on the photographer's computer. If the client expects images embedded in an asset system, verify a small import before committing the entire campaign to that route.
For a hypothetical repeated control occupation, the package might include the mark centre, recovery view, antenna arrangement and a note about a changed surface. Together with coordinates and checks, those images explain what was physically observed. A good photo log makes field context accessible without pretending that pictures replace measurement evidence. It helps another person understand the point, recover it and evaluate changes that a coordinate table alone cannot show.
Continue learning Mapping water network assets with GNSS and reliable field records
Practical checklist
- Capture complementary close and recovery views.
- Link images to point or setup identifiers and time conventions.
- Preserve originals and distinguish annotations from field evidence.
Plan your GNSS setup
Compare the EQ10 and EQ20 receiver specifications, then discuss the configuration and support your project needs.
Compare GNSS receivers